Tuesday, July 16, 2013

The New Slipcover For the Old Ugly Sofa- Part 1


This is the "AFTER".
 (Yes, I know, I just made you read the ending
of the book before the beginning. But I just wanted to give you
hope that I really did finish this project!)


This was the "BEFORE".

Nice, huh?
What?
You think it is ugly????
Yeah, so did I!
But I bought it because my beloved 
yellow floral Laura Ashley sofa finally bit the dust
last year.  

I cried. 

So, we went to a lot of thrift stores,
where I measured a lot of sofas,
looking for the "footprint" or size and shape
that would work for my plans.

I wanted something that was built of solid wood,
had good springs, decent cushions,
and didn't "creak" when we sat on it.

$50.00 cash and we hauled it away!
We actually lived with the sofa like this
for almost a year while I did a lot of
other sewing.
And a lot of life happened,
 and the ugly sofa was not a priority.
And then we packed the house
and moved to our new home, where we live now.

But this sofa looked even nastier after the move,
in our current house.

Just....yuck.

So last month, I decided it was time.
I decided that a fitted slipcover
would look neater than a simple drape slipcover.
That meant I would need to make piping,
put in zippers, and cover each cushion separately.

So, grab some coffee and get comfy.
This is a long post with lots of pictures!


I measured every part of the sofa.
I added 1-2" for each side for seam allowances.

I graphed out every section as a rectangle and
then figured out how much fabric I would need
for each piece.

Thankfully, I had purchased about 20 yards
of rose cotton damask from Laura Ashley
when they were closing down all the U.S retail stores.

I also figured I would need  cording for about 26-30 yards of piping,
5 zippers
and some batting to wrap the cushions,
in addition to upholstery thread,
lots of pins, heavy duty machine needles,
cutting boards, rulers, scissors and pens.


I started the whole thing by making yards and yards
of self piping. This fabric had a very slightly
asymmetrical diamond pattern.
I didn't realize it was off, until I started making the bias.

I figured that for the 1/4" cording I was using,
I would need my bias strips to be 1-3/4" wide.

The bias is the diagonal line of the fabric.
That is important because piping needs to be smooth going
around curved areas.
It will pucker if you make the piping out of the straight grain,
either across the width of the fabric, or down the length.


After drawing my rows 1 3/4" apart,
I cut the strips apart.
I sewed the strips together and pressed the seams open.


Then I sewed the cording into the bias using the
zipper foot on my sewing machine.

(This is the Bernina 707 I rescued from
it's lonely life in my MIL's garage. Let's say
I liberated it. )


I don't love making piping but I love the look.


Then I started to cut rectangles of the fabric.

I laid the fabric wrong side out, 
so that I could pin the seams on the outside.


I pinned each step as I went.

A very wise friend told me to start with 
the arms. She said if I could get the arms to fit,
then the rest would be easy. 
So, I took her advice.


Pinning the arms made me nervous,
because of the curves.


I cut each piece as a rectangle,
then pinned and trimmed away the extra,
allowing about a 1/2" for seams.


The front of the arm was slightly smaller than the side, 
so I had to pin tiny tucks to make it fit.

Then I pinned the side panels to the arm and front.


Sorry this is blurry. 
After I cut the extra off the arm front panel,
I unpinned it and then pinned the piping
along the outer edges.

I left the ends long enough so I could join the front and 
side panels to the arm front panel. 


I clipped around the curve so the seams would not pucker. 
Then I stitched it on to the front arm panel,
using my zipper foot again. 
The zipper foot is helpful because.
I can get the stitches right up to the 
cording part of the piping. 


I pinned the side panel to the side of the top arm panel, 
with the piping in the seam. 
Then I sewed this seam.


I pinned the tucks in place and then stitched them down.

Then I repinned the front arm panel to the side panel/ 
top arm, panel.
Then I took the whole arm piece off and sewed it all together.


This is an awful photo,
but it shows how the arm joins
to the seat deck of the sofa.


As I sewed each piece of piping to it's panel,
I would pull out about an inch of the
cording and cut it off.

This is important because that cording makes
the joining at seams really bulky.


Well looky there! 
A fitted arm!

I did the same thing to each side and it fit perfectly.


I think this is a good stopping place for Part 1.

My computer is misbehaving, 
so I will just 
 post this part and then post part 2 in a day or so.
Happy Sewing!

Sivje

Saturday, June 15, 2013

Summer Vacation Sewing


Ahnalin is now on Summer Vacation.

I realized that I had not made this poor child
a new summer outfit since....

well......

LAST SUMMER!!!

Poor thing!


So we went stash diving and found some 
fabric combos that looked
just a little more "tween".

Ahnalin picked this orange denim
for a skort.

She is really starting to prefer a more
tailored look and requested 
a straighter style.
  
She still wants shorts instead of just 
skirts because she is quite the rough and tumble girl.

This was my first version of this skort.


The front wraps to the side 
and the back is a fuller short.


This is the rear view of the outfit.

I used an old top pattern 
that I had used for India when she was little. 

Ahnalin pulled this flip flop fabric out of the
stash and felt it was the perfect combination.

She even found flip flop buttons
in the button jar!


Perfect outfit for a smoothie, 
as she is demonstrating.

Sorry for the indoor photo.

I actually took this in the morning
before school that last week.


She was a bit nervous to wear this to school
as she felt the open back was a bit 
"inappropriate".

So she put a tank top underneath just for during school.


Then she pulled out this embroidered denim
and found this dragon fly applique and 
requested another skort in the 
"same style, but smaller please, Mom".

This time, I cut the short down by a few inches
so the fit was slimmer. 

The top was just a 3/8 yard remnant
of pink ponte knit I had probably 
had in my stash for 15 years. 

She just wanted a simple tank top.

She didn't want to wait for me to 
embellish it
because she likes it 
"tailored, mom, like a uniform".

Really? Are frills gone?

Maybe I can still sew ruffles on dresses for her...


She wore it the last day of school.

The sun was really bright as we were walking
so she is making a squint face.

But she has worn these two outfits
nearly every day since I made them.

I think I need to make her more.


And this........


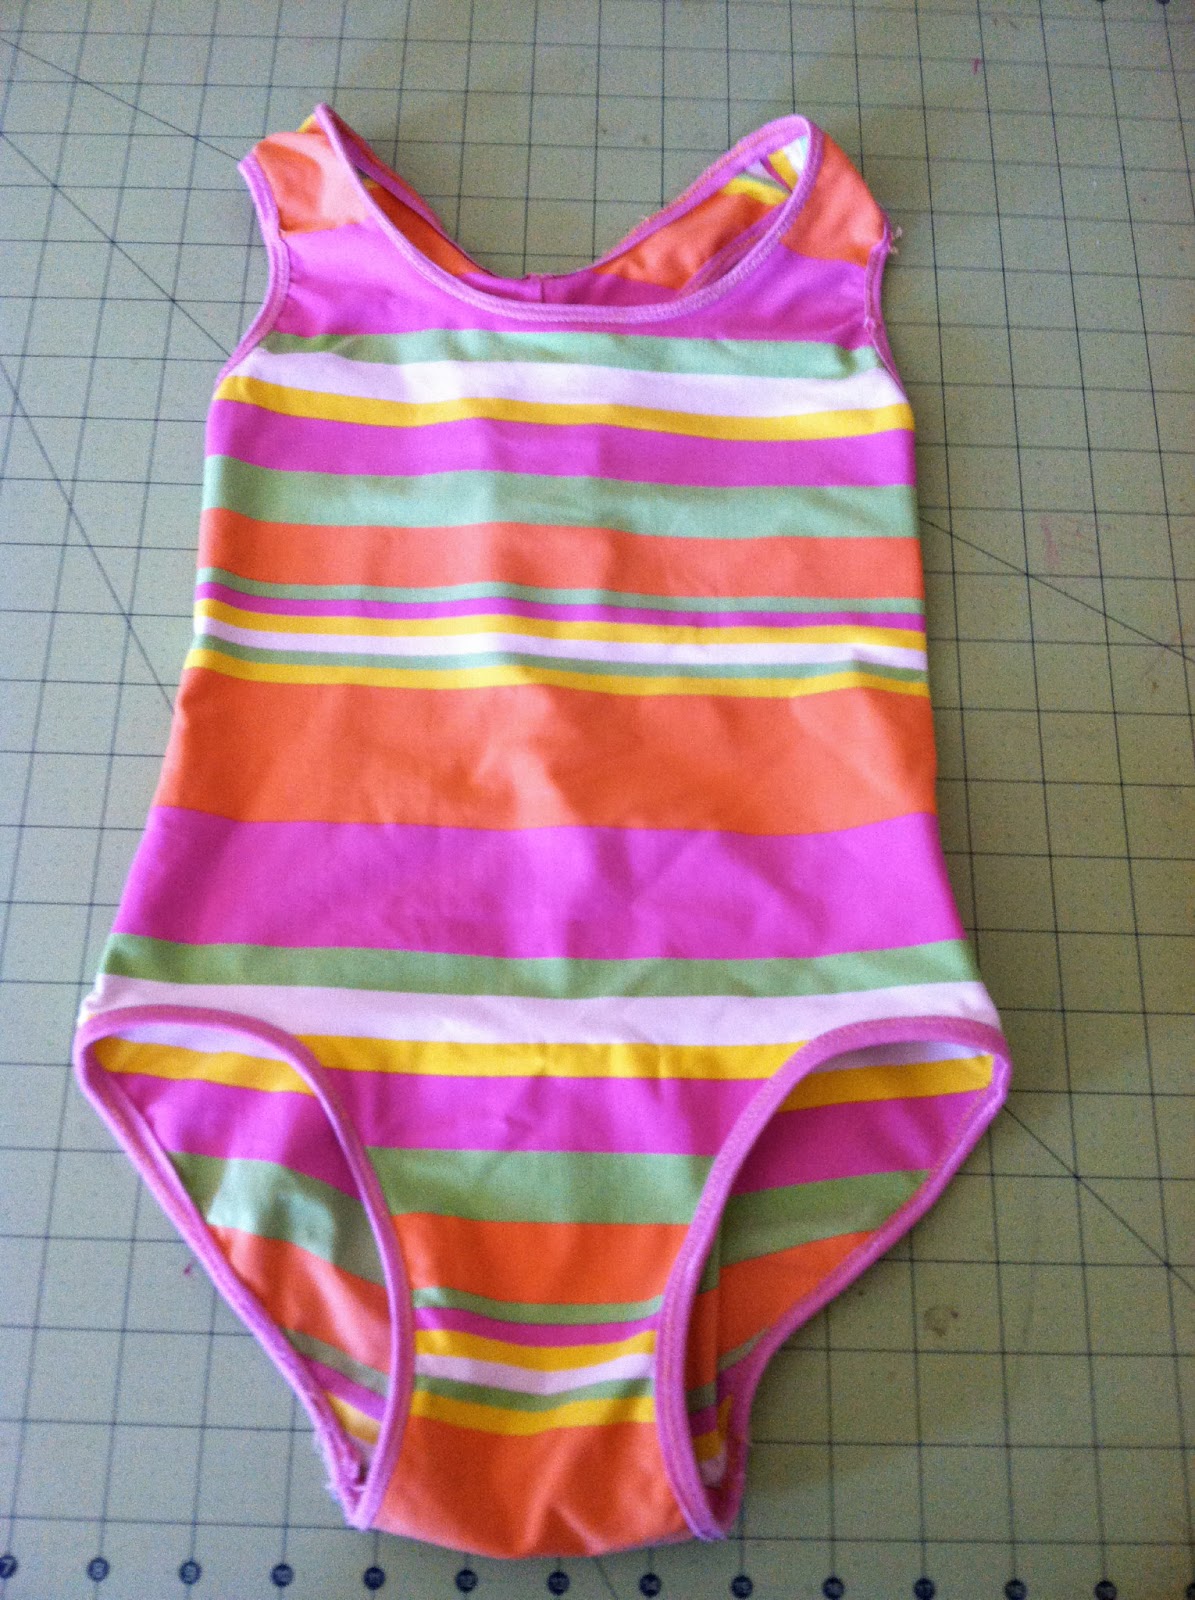
Well, This is the swimsuit
I made her a few years ago.

At least 3 or 4 years ago....

when my sewing machine was in the shop....

and I sewed it completely on Ahnalin's
Hello Kitty Janome.


It is her favorite swimsuit.

And it was way too short in the crotch.

So, she asked me to cut it in half
and make a tankini for her.


Yes, I have a serger,
but we don't get along.
(I am praying for a Baby Lock!!)

So I quickly grabbed some Fold-Over Elastic,
FOE, and stitched it on the cut edges.


New Bottom.


Top almost done.


Voila!

"New" tankini!

And we are off to the splash pad now!

Happy Sewing!

Sivje

(Pst....I still need to post photos of Ahnalin
in her Pioneer School Costume. Ey Yi Yi!)


Friday, May 24, 2013

Ahnalin as Jane Austen


We love Jane Austen.

When Ahnalin had to choose a 
"Famous dead person" 
for her 3rd grade "Live Wax Museum" history project,
she chose to do her report on our beloved novelist.

Well, I must be honest here......

I LOVE JANE AUSTEN!

Ahnalin loves beautiful dresses and 
playing dress-up with her dolls.

She told me that she was considering
doing her report on Walt Disney or Lucille Ball.

Walt Disney lost out because she didn't want 
to dress up like him for the wax museum.

Lucille Ball ran a close second,
because she would have had fun portraying her
and she adores "I Love Lucy".

But in the end,

JANE WON!
(All right, it wasn't really a contest, but Go Jane!)

And that meant that mama needed to get busy
making a regency style gown.

And Ahnalin suggested
(well, more like agreed to....)
a smocked empire style. 

As research, (cough cough)
we watched most of my BBC versions
of Pride and Prejudice, 
Sense and Sensibility,
Emma
and Persuasian.
 I suggested Mansfield Park
and Northanger Abbey,
and had to watch them on my own time (again)
as she felt she had enough of a feel for the times.


We actually did real research on Ms. Austen,
but the movies were my favorite part.

Two of Ahnalin's favorite findings about
Jane were:

1. Jane's father was a minister just like
 Ahnalin's daddy has been.

2. Jane was proud of her stitching and
handiwork skills, just like Ahnalin.


The dress fabric was rather see-through,
and she wanted a new petticoat,
so I cut a quick yoke style bodice
and long skirt out of some cotton muslin from my stash.

She was practicing her posture with a book on her head
in this picture.
Goofy girl!


I found just enough cotton lace in my stash
to trim the neckline and armscyes. 


I added a long embroidered cotton batiste trim
to the hem of the petticoat.
I had planned on enclosing that seam in a
growth tuck, which is my oft used hem treatment.
However, Ahnalin wanted it to be left
as long as possible.
So we left it alone.
Her plan is to wear it as a nightgown
after the wax museum project was finished.


Ahnalin kept cracking up while Grandma Barbara was
taking pictures from one angle
and I was taking them from another angle.


Yes, there it is.
My favorite cheater hem style.
But I do love growth tucks.


And the long petticoat is peeking out.
And how cute are those pink ballet flats.


I truly love the fabric I used for this dress.

It is "Juliet-Coco" by Anna Griffin,
and can be purchased at the Martha Pullen Company. 

I drafted the pattern and designed
the smock plate based on various
gowns from my favorite
Jane Austen movies.

And, well,
you know I had to include smocking!

I am working on the pattern for this dress
and it will include the smocking design.
 

Ahnalin wanted you to see her hair.
She knew exactly how she wanted it to look.


The back of the bodice is simple and pretty.

I like the lace of the neckline of the
petticoat peeking out.


 I had not stitched the grosgrain ribbon
in place so it fell off when Ahnalin
was frozen in place at the school wax museum.
But it probably looks more authentic without it.


 She got tired of being frozen in her standing pose,
so she sat down and read her "prop".

Good thinking, my brilliant girl!


I am so proud of my little one
for working so hard on her Jane Austen project.
Her research paper was very well written
and she enjoyed the process.

And I am so glad she gave me a good
excuse to create a regency style gown for her.

Now she wants one for her American Girl doll.
I guess I had better get busy!

Happy Sewing!


Sunday, May 19, 2013

The Martha Pullen Love Of Sewing Retreat


I finally got to meet Martha Pullen !!

And she is wonderful and hilarious 
and I almost cried because I am 
such a giant fan!

I asked her to sign my my article in
Sew Beautiful magazine
and now I am going to frame it.


If you ever get a chance to 
attend any of her retreats
or seminars,
I hope you get to hear her "Spanx" routine.
OH MY!!!
So funny!!

But more importantly than her hilarious stories,
she generously shared her business philosophy
and love of heirloom garments.

I was so happy to take a serger tote class with
Kathy McMakin!

I am smiling so hard, 
my eyes are almost completely invisible!
She taught some incredible serger 
techniques and was so friendly!


The next class I took was for a wallet
made completely "in the hoop".

I love my sewing machine,
but oh my!

We all created these wallets on the Babylock Ellissimo Gold 
Embroidery and sewing machines.
What a blast!!
These are amazing machines!


Martha taught the class on lace shaping.
It really is so fun and much easier
than it looks. 

one of Martha's licensed teachers,
in this class, 
where she was assisting.
I was beyond thrilled to find out that
Alicia is practically my neighbor in my new town!


I also was so excited to take a serger Hipster Bag class
Oh my goodness!!!
Missy is incredible!!!

She has fabulous patterns and videos
and she completely got 
me excited about sewing with sergers.
I have two older sergers but have been
pretty unimpressed with them.
I am definitely going to save up for 
a new Babylock serger now!


This is the Hipster Bag we made
in Missy's class. 
She taught us how to make a "Fancy Band" 
and even how to put in a zipper
on the serger!

Ahnalin has already tried to snag this little bag from me.


This is a table folder we made using
a "Sashiko" machine. 
I love it!

I didn't finish the serger tote, 
but I am almost done with it.

This event was sponsored by
Meissner's Sewing Center,
which has 3 locations in the Sacramento area.
The Meissner staff is incredible!
I signed up for their mailing list
so that I can hear about events in the future.
I plan to attend a Janome seminar
at Meissners  this summer.

All in all, this retreat was a fabulous gift.

My parents and my Hot Rockin' Hubby knew
how badly I wanted to go to this
retreat and they worked together to make it happen
for me. 
 I am so incredibly grateful!

I have never been to anything like this retreat before
and it was a treat from the second I arrived
until the last second. 

I think I am hooked. 

Now, 
time to get back to the real world!

I have to make a costume for
Ahnalin for "Pioneer School" by Wednesday.
And pictures will soon be up 
of Ahnalin as "Jane Austen" 
for her 3rd grade history project.

I had better get busy.

Happy Sewing!

Thursday, April 25, 2013

Vintage Rose Smocked Natalie Dress In Sew Beautiful Magazine


I squealed with excitement when
I received this in the mail the other day!


That's my name!

You see, I love the "Vintage Natalie" pattern
that Janet Gilbert designed for Sew Beautiful.

You can order the pattern on the Martha Pullen website. 


I made this version for the First Day Of Third Grade.


And I made this version for Ahnalin's 8th birthday.

I love this pattern!!


So, I had the idea to add smocking
to the waist. 
It combined my passion for smocking 
with my love of this amazingly versatile pattern.


I designed the smocking and wrote the instructions
and you can find them in the May/ June issue of Sew Beautiful Magazine.  

You will also receive the pattern for this 
darling romper designed by my favorite designer,
 Janet Gilbert!


This is my favorite part of the whole magazine.

This is the page that made me cry.

You see, I learned how to smock through
reading Sew Beautiful Magazine.

The talented artists on this page, 
and others who have contributed to the magazine,
have been my mentors over the past several years.

They have been encouraging and so willing
to share their knowledge. 

To see my photo next to these photos
was a dream-come-true!


And now, enough of my teary gushing.
I had better get back to setting up my new sewing room
and work on my next designs! 

Happy Sewing!